 The adventure continues! I finished the plum flower and added pollen and stamens on top (stamen angles were all calculated precisely because that’s how they roll in Japanese embroidery).

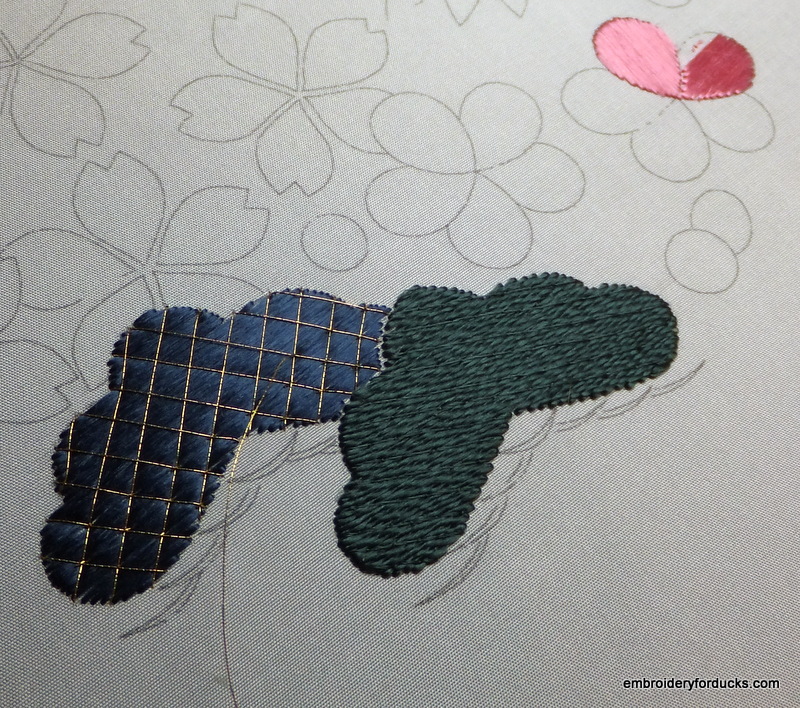
I made the second pine tree dark blue. It’s worked in flat silk with a gold lattice over it (lattice spacing calculated with ruler). In the picture below you can see the contrast between the green twisted silk pine tree and the flat silk flower and pine tree. I love watching the light on them.
 Here’s another picture of my plum flower reflecting the light.
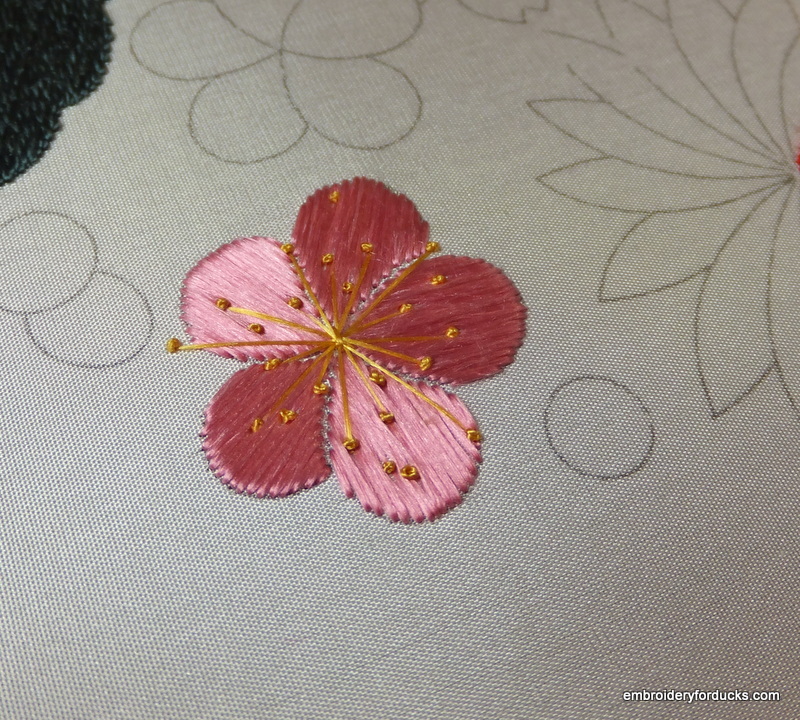 Next step: adding branches to the trees! These are done in gold. I’m still practicing at keeping the strands untwisted and parallel with the tekobari, but it’s looking good.
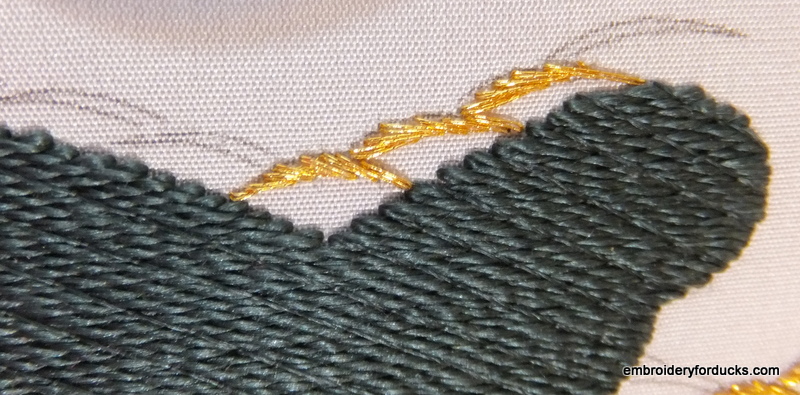
To add the upper branches we use a diagram and stitch through the tissue paper! The silver buttons are magnets to keep it in place until I’m done.
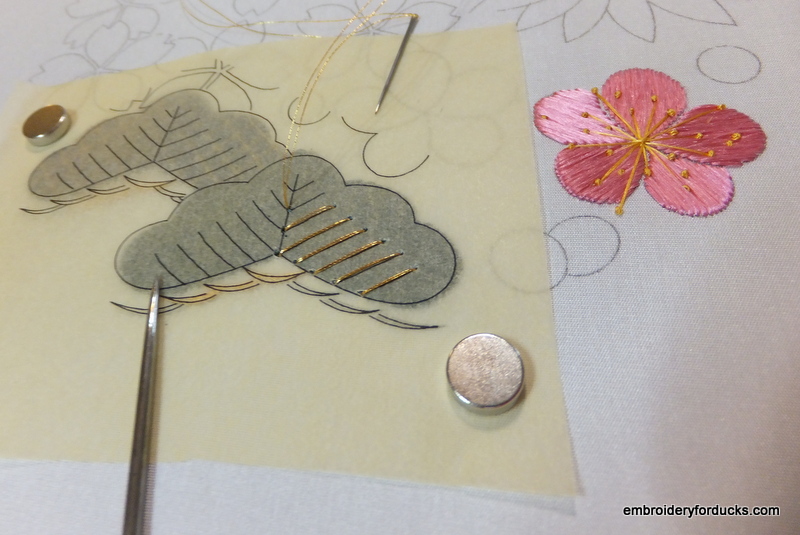
After removing the tissue paper, I start couching the branches down to give them a curve and to keep them in place.
All done with the pine tree!


It is the endless variations in shade from stitch angle and angle of light that make silk so fascinating and rewarding to use, isn’t it!
I’m enjoying trying out all the different combinations 🙂
Your work is beautiful! I am glad you are sharing your progress with us.
thank you!
C’est la première fois que je vois cette broderie elle est magnifique bravo Marie-Claire
🙂
Oui, bravo!! happy to see you, Hannah
Monique
it’s great to hear from you too!
Lovely work. Like seeing it progress and am learning even if I never do silk embroidery.
Thanks so much! I’m learning a lot too 🙂